Tips for Shooting Unique Product Photography
As the digital marketplace grows, so also is the increase in the demand for good content and eye-catching media. Because of that, product photography has now become an inevitable trend for online stores. In order to keep up with demand and ride over the competition, brands and entrepreneurs need to invest more in product photography.
Crips, professional product photos will not only highlight the key benefits of the product but will also inspire trust in your ability to deliver a quality product. As a photographer just venturing into this field of photography, here are some useful product photography tips to help you deliver unique product photographs. You can improve your product photography and make it something amazing!
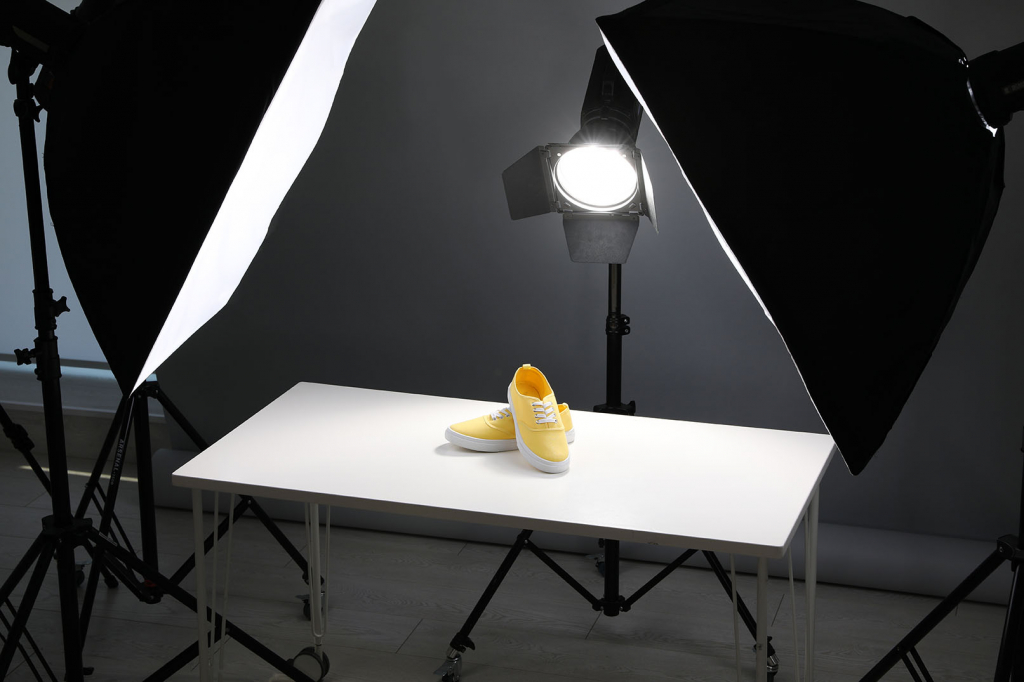
1: Use Proper Lighting in product photography
This is one important aspect of photography – not only product photography. Without proper light, you are going to have a completely different product and background from what you see in person. A white background without light will only appear as grey and not as white that you are seeing.
When we talk about lighting in product photography, there are two options for you. You can either use natural lighting or studio lighting. The kind of light you use will be determined by what type of product it is and on which platform it is going to be used. If your product photograph features edible items, clothing, and people, then natural light will be your best option.
The best time to shoot with natural light when shooting outside is early morning or late afternoon when the sun is out. And if you will be shooting inside, set up your product facing a window.
However, if your products are items primarily used indoors, sold on Amazon, or features small details, then you may need to use artificial lighting for the shoot.
#2: Select the Right Camera

The right camera is the beginning of every great product photos. But the truth is that buying one can be pretty overwhelming, especially when we have dozens of brands out there on the market. Many people do ask, “Should I choose a mirrorless or a DSLR camera for my product photography?” some ask, “what if I don’t have a budget, can I use a point and shoot camera?”
In order to get the best product photographs, your best option is a DSLR (digital single-lens reflex) or a point and shoot camera. While a DSLR camera has some great features for the best photo, a point and shoot camera is less complicated and still delivers quality. If you have good photography skills, a point and shoot camera is a solid option for you.
However, you can also use your smartphone to capture great photos, especially now that we have some smartphones with zoom features, portrait mode, and macro settings.
#3: Use Tripod
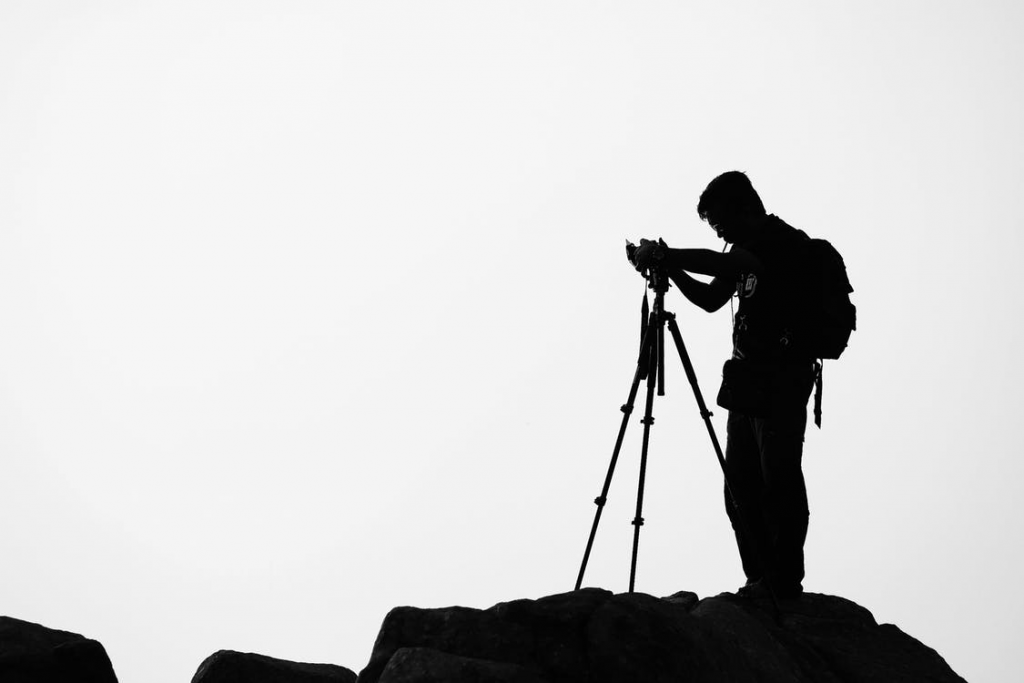
If you have been seeing tripod as a nerdy, unnecessary piece of equipment, you will need to change your orientation. Tripod makes a huge difference in product photography. It promotes the clarity and quality of your photos. And one interesting thing about a tripod is that they are not difficult to use and are also inexpensive. Tripod will help keep your camera stable and reduce blur, which is very important if you want to have professional and high-quality photos.
It doesn’t matter the type of camera you use, there is a wide variety of tripods on the market you can choose from. They are not expensive so you can get one even if you are on a budget. To get better product photographs, taking the extra minute to set up a tripod is absolutely worth it.
#4: Take Inspiration from Brands You Love

©Antonio Cuellar Photography all rights reserved
It is always helpful to catch inspiration from others. It is possible that you already have some brands in mind that you love. Take a look at their product photography and see a way you can replicate their technique or do something similar for your products.
For example, if you run a local women’s boutique and you are looking to get amazing photos for your products. You can check out your favorite women’s clothing brands on platforms like Instagram and reflect on unique things you love about their photos. See if you can create something similar to your products or even create something better.
#5: The Idea Sells the Product
The key to selling any product is selling the idea of the product. Most marketers already know this. Whether you are telling how specific the product is to s specific interest. Or telling how life can be more convenient with the product, the story behind the product is what sells it.
In product photography, it is your duty to create the story, the world, and ambiance in which the product will reside. Therefore, as much as possible, you need to include some creativity in your shots to make your photos stand out.
#6: Get to Know the Rule of Thirds

The rule of third is a powerful tool that is being taught in many introductory photo classes. The rule was designed to help photographers create a well-balanced composition in each shot they take. It will help you identify where exactly to place the focus of your product. What you want is to make sure the product is optimally positioned along the lines where two lines intersect.
#7: Pay Attention to Reflections
You definitely don’t want to have a weird reflection on your product. So you need to avoid the common mistake most product photographers make. You need to pay attention to how you or your lighting reflects in the product. To take care of this, you can either remove the reflection altogether or use it and include it in the image.
#8: Use Simple Props
Don’t forget the main focus of each product photograph is the product. So when we talk about using props in product photography, you need to keep things minimal. However, the truth is that props can help brighten your photos for your viewers.
So to get this handled, choose simple props. Align with the color scheme, and make sure your prop is relevant to the scene of your product. You can enhance the beauty of your product with lovely props, but don’t overdo it.
#9: Touch Up Your Photos with Editing Software
This is usually the final step in getting high-quality product photos, so it is important to include that in product photography. When you use editing software to touch up your photos, you will be increasing sales while also raising brand awareness.
Don’t feel somehow with editing photos – even professional photographers do it. it is more like the icing on an already delicious cake. It can help adjust lighting, remove blemishes, blur the background, add gradient, crop, straighten shots, etc.
The three most recommended editing software for product photography are Adobe Photoshop, Adobe Lightroom Classic, and Adobe Photoshop Elements.
Final Thought on Taking Killer Product Photography
Your image is the best way to provide your customers with an incredible amount of information about your product. It tells them if you are trustworthy; if you have the solution they seek, if the product will fit their needs, etc. the best product photos provide customers the information they need to make a purchase decision. So ask yourself, what are your current photos telling your customers?
